

Part One: Spring Cleaning- Our Room-By-Room Guide
When Spring arrives; just after the snow melts away and the days start to get longer, there is never a better time to get around to that all-important whole-house clean you’ve been quietly planning, or have been putting off, for some months. This is surely a great way to breathe life back into your home after a long, dark winter! But where do you begin? Many people put off the Spring Clean as they quite simply don’t know how to answer this question!
Follow Pressed not Stressed’s Room-By-Room Guide to Spring Cleaning, to achieve the optimal result: a throughly clean, sanitised, and liveable space just in time for Spring/Summer!
We have divided our Spring Cleaning series into Three Parts starting with Part One, which tackles the Living Room and the Kitchen.
THE LIVING ROOM:
For many, the living room is the first room visitors and friends see when invited into most people’s homes. Regardless of how much or how little use it gets, our living room invariably will gather dust and grime throughout the year. To tackle this area, you’ll need the following products and equipment at hand:
i) Cleaning cloths including microfibre cloths, sponges, wipes.
ii) Dusters- feather and microfibre including long handle types.
iii) Vacuum cleaner
vi) Mop and bucket
vii) A range of cleaning products including all-purpose cleaner, furniture cleaner/polish, stain remover for carpets and upholstery, and glass cleaner.
Before you start, it’s best to clear out and declutter the living room area, as far as possible. Sort clutter into piles: those to throw out and recycle ie. newspapers and magazines; and those to store away or put into the laundry for a good wash, such as soft furnishings ie. cushion covers, curtains, tablecloths etc.
DUSTING:
Now that the room is cleared, dusting the surfaces can commence! Work methodically from top to bottom and from left to right. Start by dusting the ceiling, walls, and ceiling lights, and then move onto all of the surfaces in the room. Don’t forget the skirting boards as these can collect an awful lot of dust from the central heating system over the winter months.
THE WINDOWS:
Window cleaning, both internal and external, is an essential aspect of Spring Cleaning. Any glass cleaner bought from any supermarket will do a great job. You could also make your own, if you prefer, by mixing together white vinegar and water in equal parts, and decanting into a spray bottle for use. Together with a clean dry cloth, clean the internal windows, and buff with a separate clean cloth for a super finish. Outside window cleaning takes more effort as they are exposed to the dirt and grime of the environment. For this job, we would recommend a bucket of water mixed with some window-cleaning solution, a sponge, or a ‘squeegee’ with a long handle. Buff when dry to get rid of any streaks and smears using a dry cloth. Alternatively, if you want to reduce the effort, a Karcher window cleaning system gives great results every time! These can be purchased from hardware stores or online.
THE SURFACES:
Clean tables, shelves, lamps, and all other furniture and items with a damp cloth, and polish only if required. A build-up of dust, dirt and grime can be cleaned away from furniture by spraying with a water and vinegar solution. We have also found that using baby wipes ideal as they are gentle and can be disposed of quickly and easily in the bin with no washing required! For more stubborn stains on the sofa, these can be spot cleaned using an upholstery cleaner.
ELECTRONICS:
Before cleaning anything electrical make sure the items are unplugged for safety reasons. Starting with the television, the frame is the first area to dust. Then move to the stand and the back area, and then clean the screen taking care to follow the manufacturer’s cleaning instructions. But in general, a light dust with a microfibre cloth, feather or microfibre duster will generally do the job well! Don’t forget to clean the wire leads as these tend to get neglected. Do this by running a damp cloth back and forth until clean, this usually does the trick.
The remote control needs to be cleaned thoroughly as this is typically the most touched item in the living room. To clean, use anti- bacterial wipes, making sure to clean in and between the buttons as you go.
RUGS, CARPETS AND FLOORING:
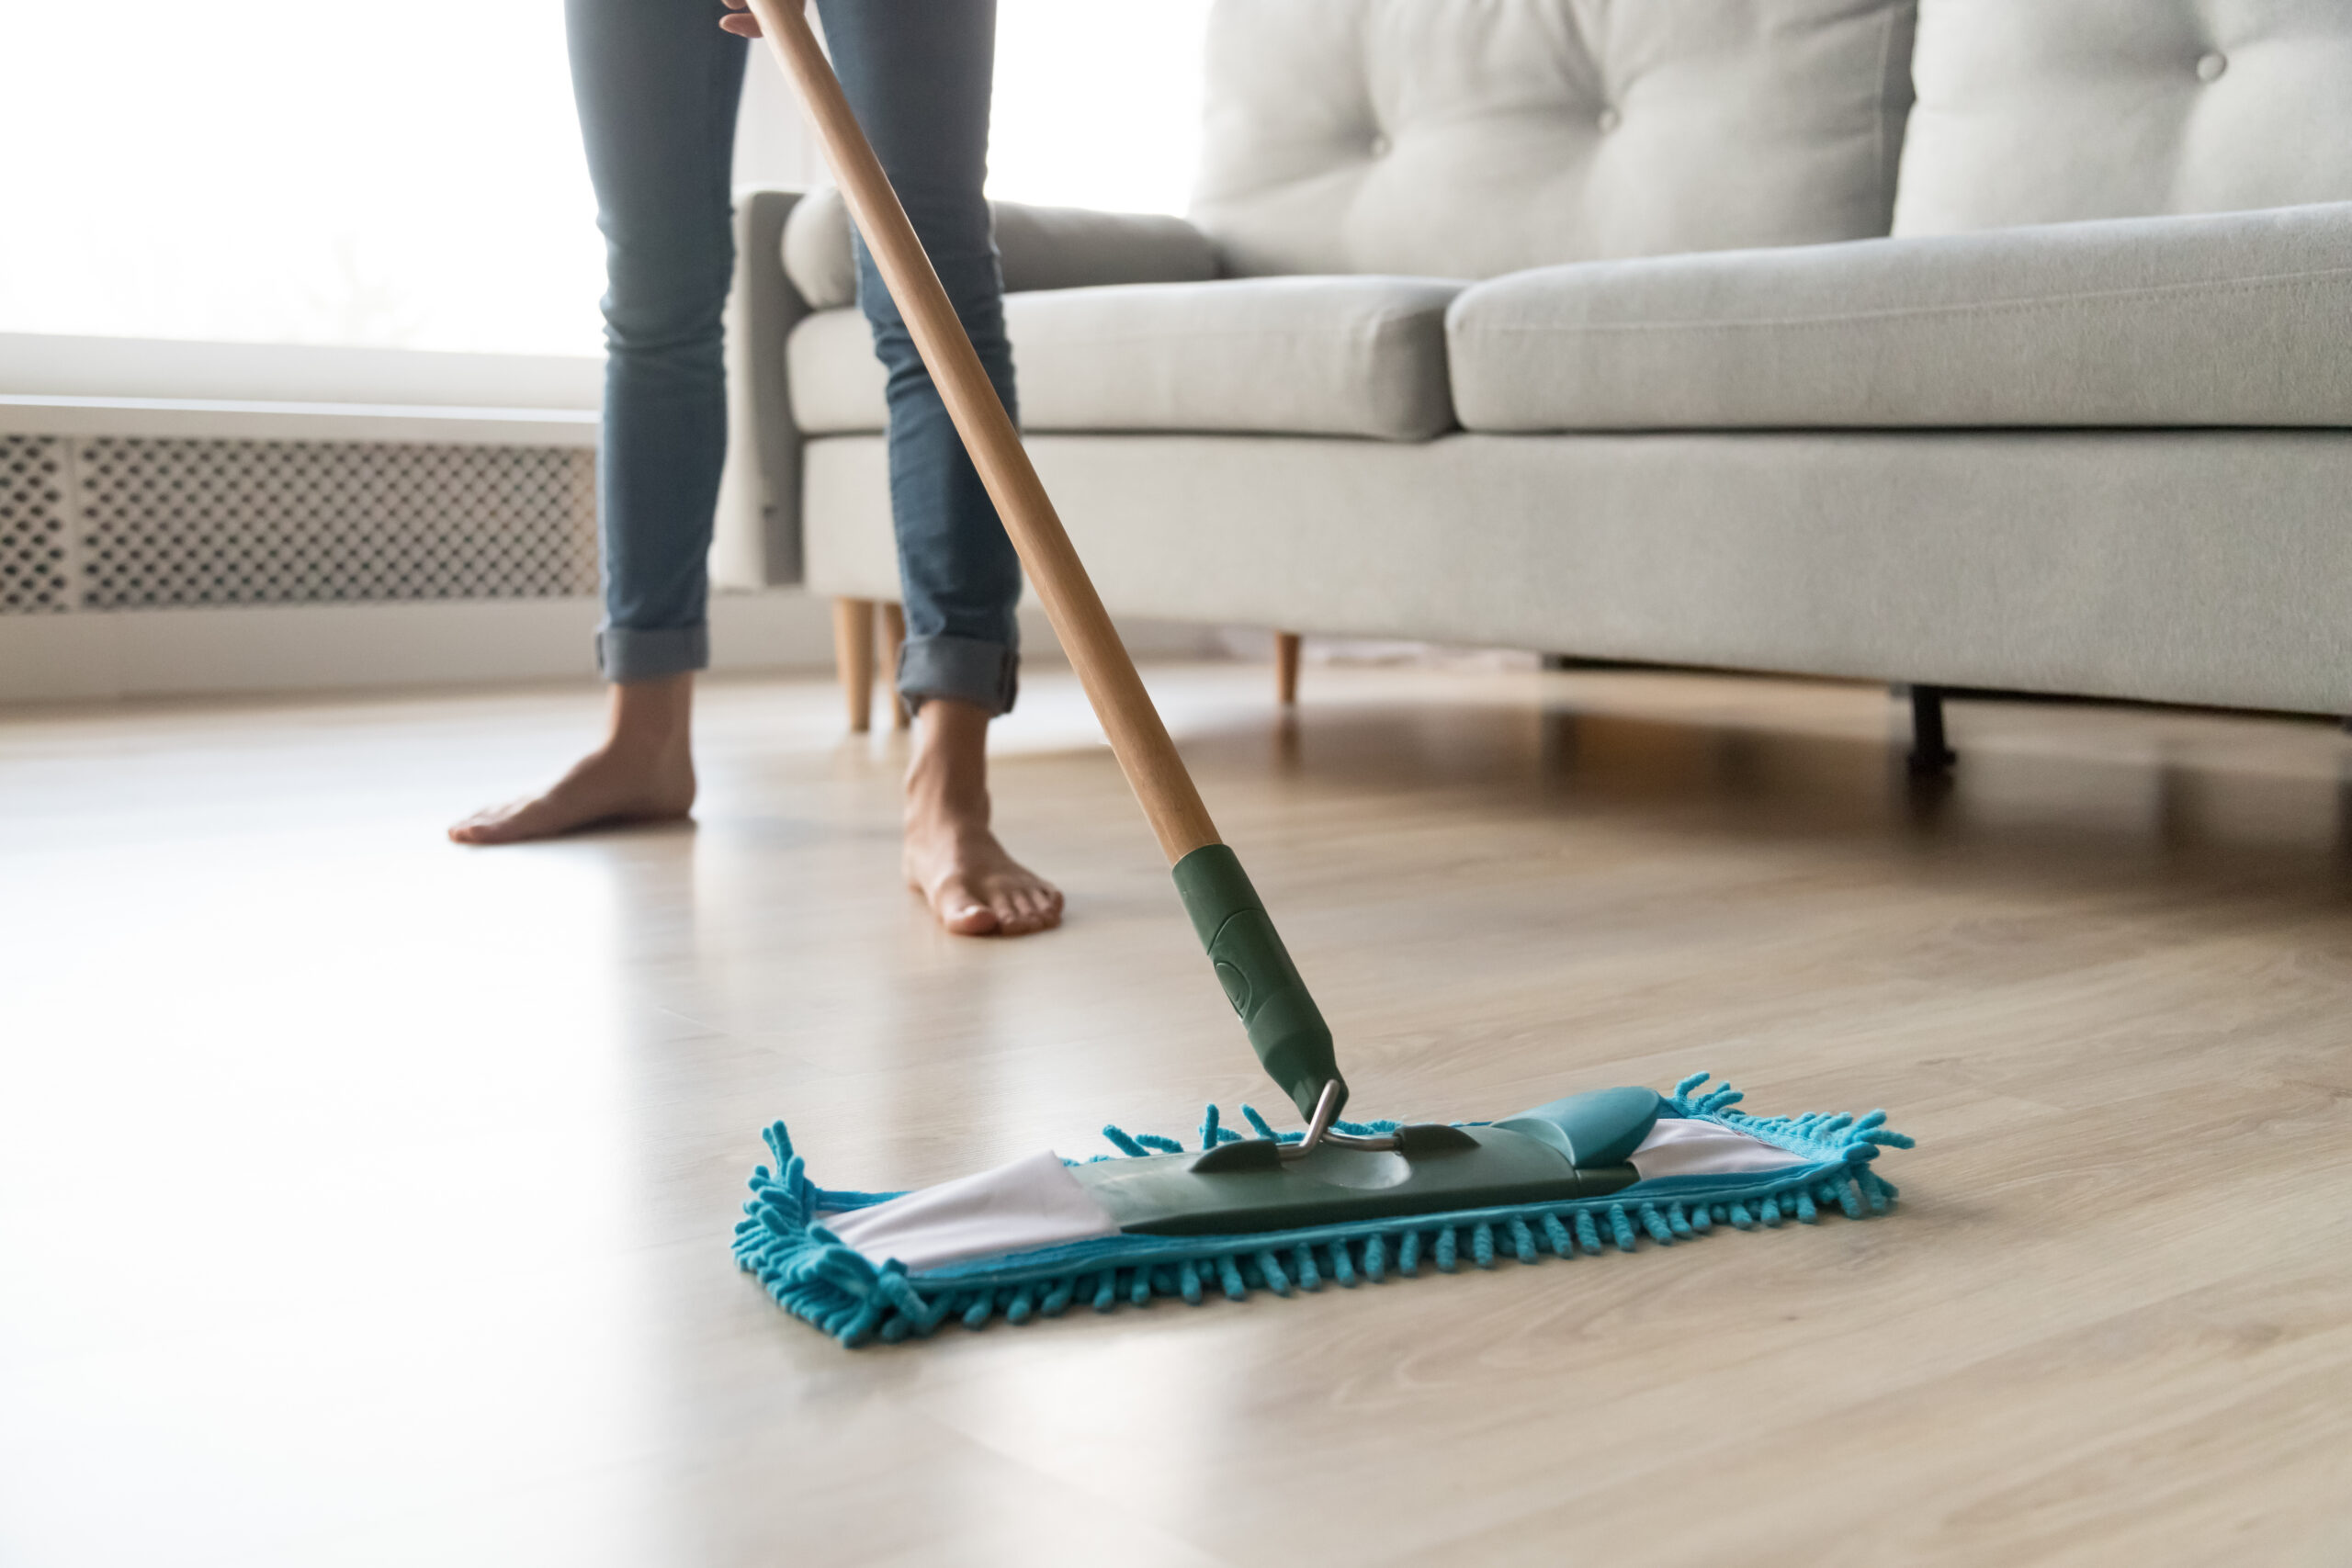
The floor area is best left until last. Vacuum all carpet areas, including rugs; remember to lift and shake out. Move furniture as you go to access all hidden areas. After vacuuming, you’ll be able to identify any areas to treat. Spot clean as and when required using a carpet stain remover product. If you have wooden or laminate flooring then a mop and bucket with a floor-cleaning solution can be used, but do not over soak. If you want to use a floor steamer such as a Vax or Shark, for example, always refer to the manufacturer’s instructions before use to avoid the risk of damage to your flooring.
FINISHING TOUCHES:
Now all the main cleaning are complete, it’s time to fill the living room area with furniture and other items previously removed. Be sure to clean these items throughly before replacing. Curtains can also be put back up when washed, dried and ironed.
As a final touch, we like to cheer up this space with a bunch of fresh cut flowers to make it look and smell wonderful!
THE KITCHEN:
The kitchen is one of the most used areas in the home. It is used as a place to prepare and eat meals. It’s often used as a place where the family gather and entertain and a place where children often do their homework and craft sessions. It’s also an area where our beloved pets frequent and sleep, and where we house their eating and water bowls.
We’ve listed below what you’ll need to thoroughly clean this area:
i) Bin bags
ii) Dusters-feather and microfibre including long handle types.
iii) Ladders/step stool.
vi) Cleaning cloth and microfibre cloths, and sponges.
v) Brush and vacuum.
iv) Mop and bucket/ steam mop.
vii) Window cleaner/white vinegar/
baking soda/ dishwasher
solution/tablets.
viii) All purpose cleaning products.
DUSTING:
Starting at the top, we recommend you tackle the kitchen cupboards, door frames, walls, and lighting first using a long handled feather and/or microfibre duster to dislodge and remove dust and dirt from those hard to reach areas. Still using your long handled duster, reach over to dust down your kitchen blinds, using a foot-stool, if required. Pull the blinds up after you’ve done this as you can now tackle the kitchen windows, following the same method as discussed for the Living Room windows.
DISHWASHER:
This appliance should be cleaned inside and out. Clean the inside of the the door, focusing on the hinges to ensure all food debris is removed. If the filter can be removed, then remove it and clean the area with a cleaning solution. Once complete, run the machine through on a cycle adding some dishwashing solution or tablet to clean the entire inside.
MICROWAVE:
The easiest way we’ve found to clean the the inside of a microwave is to place a cup of water inside and then turn on for a couple of minutes to create enough steam inside to loosen any dried on food. Simply use a cloth or paper towel to wipe clean. Finish off by wiping clean the outside and then buff with a microfibre cloth to complete this job.
FRIDGE:
In preparation for this task, first remove everything from the fridge, checking dates as you go. Throw away any food products that exceed their expiry dates. Wipe everything down inside, starting at top, sides and then bottom of shelves and drawers using an all-purpose cleaner. If there are stains left behind from food, then baking soda can be used to clean it off. Remember to dry off the area well before replacing all food products back into the fridge. Finish off using a damp cloth to clean the exterior, and then use a microfibre cloth to buff.
OVEN/COOKER:
If you don’t opt to have your cooker professionally cleaned, then follow these steps below to give you great results on your cooker and oven:
i) Gather Cleaning Materials:
– Baking soda/ oven cleaner
-Rubber gloves
-White vinegar
-Cleaning cloths
-Stainless steel cleaner
ii) Remove oven racks and give them a good soak in hot water, adding an oven cleaning solution, leaving plenty of time for this to take affect usually between 2-3 hours. Using the sink is fine to do this, but we would recommend using the bath to provide more room to manoeuvre. Always place an old towel on the bottom of the bath beforehand as this will help to prevent marking it. When this is complete, if there are still any stubborn food stains remaining then spray some regular oven cleaner on the areas and use a scourer to remove.
iii) Clean Cooker Inside:
Mix a solution of baking powder and water to make a paste then coat the whole oven area with the paste. Wait approximately 12 hours for it to take affect and then wipe clean. Alternatively, if you’d rather not wait that long, spray the entire area with a regular oven cleaner, making sure you open a window to ensure adequate ventilation. Wait around 20-30 minutes then wipe off with damp cloth or sponge several times until clean. To ensure all residue is removed, spray the whole area with a homemade white vinegar solution mixed with part water, and then wipe with cloth until no residue remains.
v) Cooker Top/Oven:
To clean your cooker top or hob, use washing up liquid and some hot water. This is a cheap and cheerful decreasing option, although any kitchen cleaner will do the job well. Wipe down with a clean damp cloth. For buffing, we recommend a stainless steel spray such as CIF, as this gives the oven top, including all the knobs and surrounding areas, an amazing shine when buffed with a microfibre cloth.
CUPBOARDS AND DRAWERS:
Using a step-stool or ladder; depending on height considerations, and a de-greasing kitchen product, set about the task of cleaning your tired cupboards and drawers, paying extra attention to the areas near the cooker. For the tops of cupboards we suggest that once cleaned, you line this area with a layer of paper towels so that the next time you come to clean them you can simply remove the dirty paper towels and replace with clean ones. It couldn’t be simpler!
Taking one draw at a time, remove all items; cleaning or discarding as you go, and then clean the insides of each. Once complete, dry all areas off throughly and replace items neatly. Finally, wipe the exterior clean removing any marks with an all-purpose cleaner, including the hinges and handles, and then buff with a microfibre cloth.
COUNTERTOPS AND SINK:
Clear countertops of all kitchen and other items. Using a kitchen cleaning product, give the tiles a good clean and buff. Using soapy water, clean all tops and surfaces down. Dry throughly and replace all items.
For the sink, scour the entire area using either baking soda paste, or using CIF cream, both do a great job. Rinse well and use a stainless steel spray for extra shine. For the drain, use a drain cleaner to clear away any blockages, but ensure you always read the instructions. After any build up or blockages has been rinsed away, a squirt of bleach does the trick in keeping it germ and odour free.
FINISHING TOUCHES:
Now that you’ve added a sprinkle of Spring Cleaning magic to your kitchen, the only area left in this space is the floor. Start by giving it a good sweep and then vacuum the entire area.
Using a mop and bucket, or microfibre pad, or even a floor steamer depending what on the type of flooring you have, give it a good clean. Finally, for a little touch of seasonal magic, we like to put a bunch or two of daffodils or roses on show in a vase to brighten up the place to signal either Spring or Summertime is on its way!
We hope you found Part One of our Three Part Spring Cleaning series helpful and useful. Join us for Part Two next, where we tackle the Bedroom and Bathroom areas.