

How To Iron A Shirt In Seven Easy Stages To Achieve Fast And Accurate Results Every Time!
Whether it’s for a special occasion, for work, or for day-to-day casual wear, it’s important for a whole host of reasons to make an effort to look smart. The last thing either you or anyone wants to see is a badly ironed or the dreaded un-ironed crumpled and creased shirt! Apart from it standing out like a sore thumb, it just doesn’t look very nice either!
Read on and I’ll take you through how to iron a shirt in seven easy stages guaranteed to leave a good impression whatever the occasion.
Prep…
First things first, it’s important to prepare well before getting down to the task at hand. Make sure to check the shirt care label first for instructions, and then follow them. You’ll be surprised how many of us simply don’t do this, which in part explains why we have come across so many disasters in our time from scorched marks, shiny patches and, of course, those tell-tale dreaded singed marks or even burnt holes. So, check the label and iron settings according to the type of fabric you are about to iron each and every time. This is crucial as most disasters occur when the iron first comes in contact with the fabric!
Stage One
You must start with a freshly washed, stain-free shirt. To achieve this and to revitalise the shirt, either spot-remove visible stains or pre-soak tougher ones by using a scoop or two of a branded stain remover, such as, Oxy. There are a good range of options out there to choose from. Collars ad cuffs benefit from an application of this mixed with some water to make a paste then massaged into affected areas and left on for about 10 minutes before the main wash. Bicarbonate of soda is also good for stains and can be used as a brightening agent too. It is also great for deodorising shirts and other garments, especially useful for underarm areas.
Stage Two
This is where size can matter! To iron a shirt, we prefer the biggest ironing board we can get out hands on. This makes it easy to move each panel of the shirt around the board with ease. For shirt ironing, we use ‘The Broardman’ ironing board as it’s huge and has a great shape for this job. However, you can iron a shirt effectively using, for example, a Minky or Brabantia ironing board. But no matter which board you use, be sure you are comfortable when using it by adjusting the height before you begin. We would also advise, as a precautionary measure, to wear a long-sleeved garment to protect arms from accidental burns when ironing.
Stage Three
Switch the iron on and wait until it heats up and reaches the selected temperature in line with the care label instructions on the shirt. If you wish to use spray starch to stiffen the collar and cuffs, then spray these areas at this point to allow time to dry. There is a range of branded spray starch options to choose from on the market such as Dylon and Beckmann, all giving great results. Or, if you wish, there are homemade options as well made from rice etc. which are easy to look up online.
Stage Four
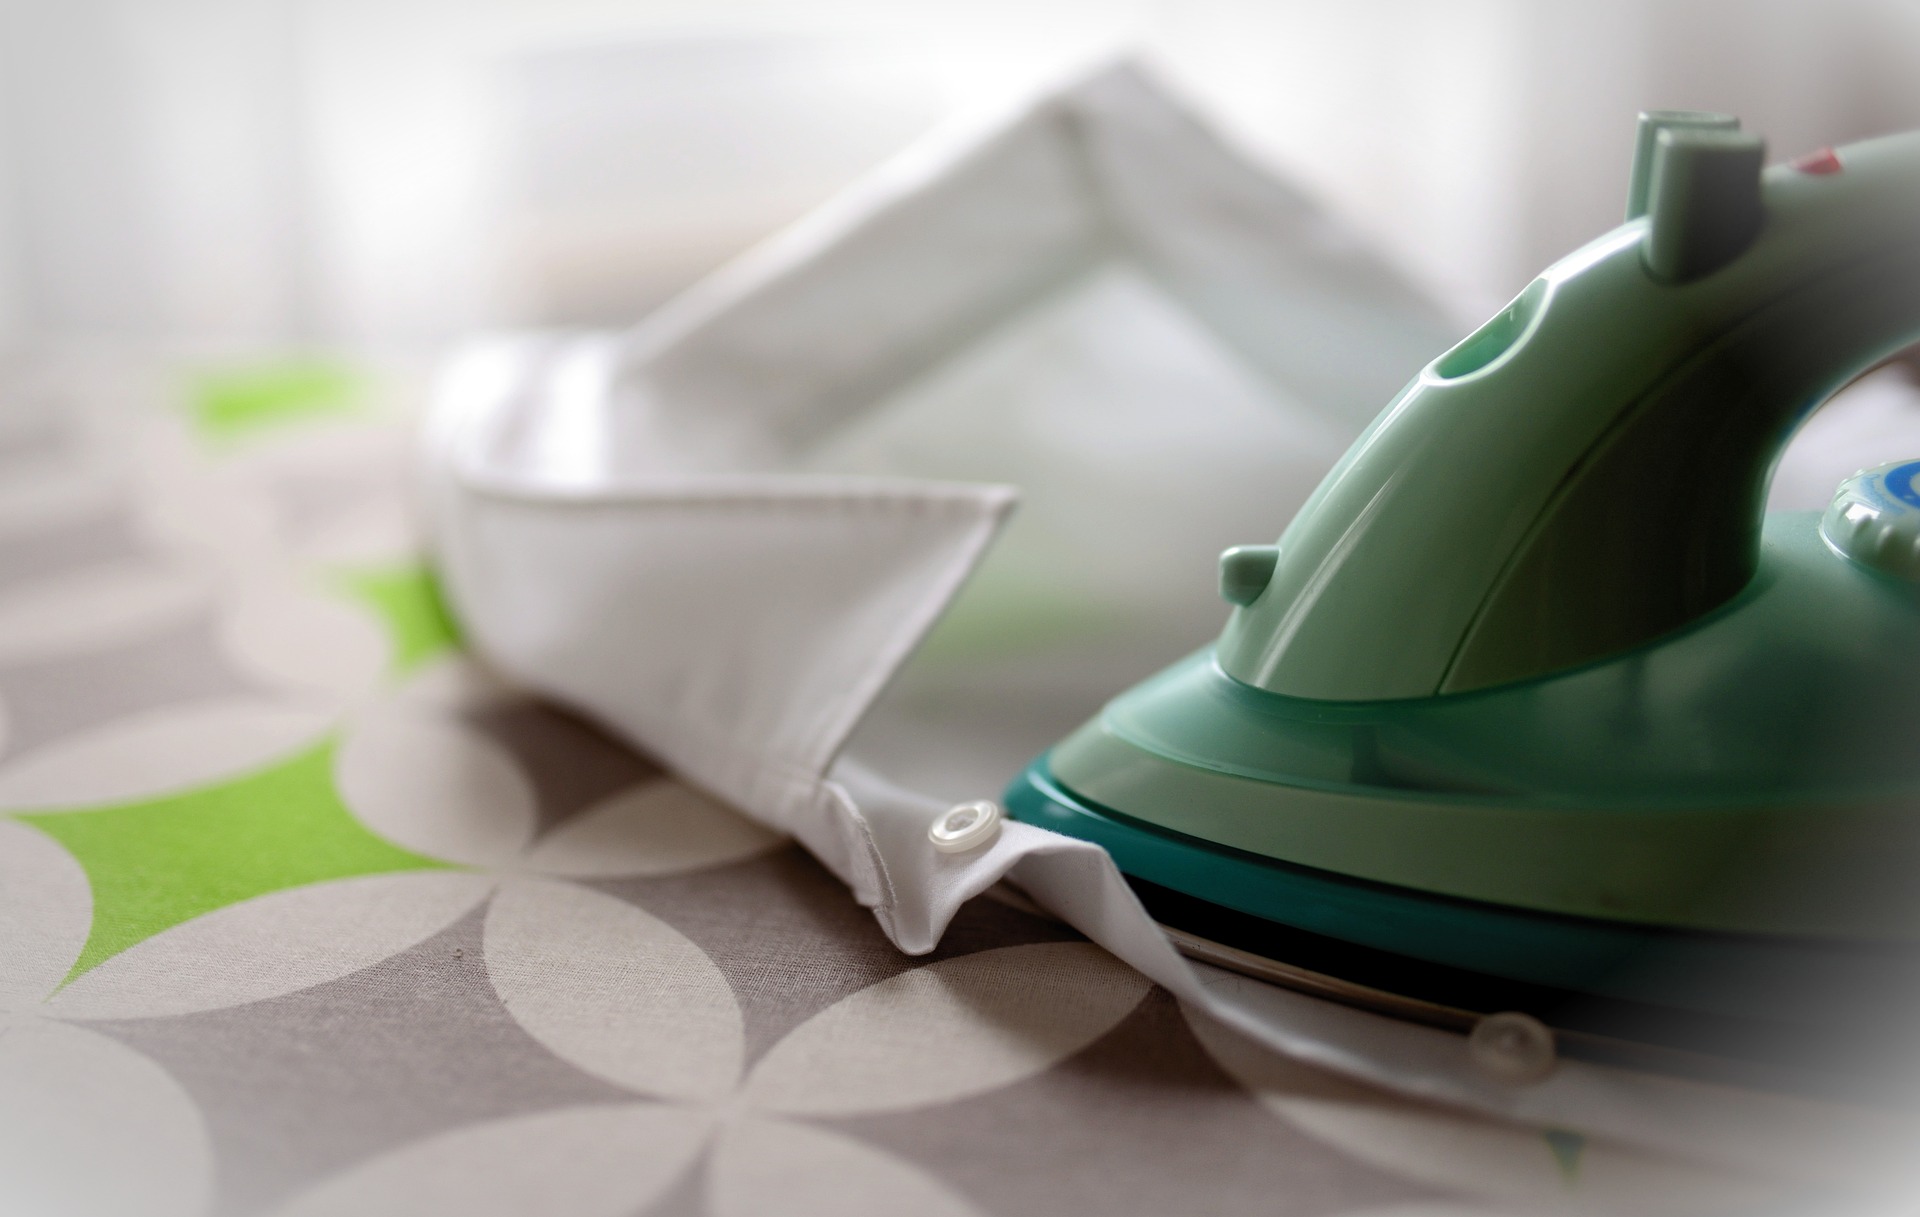
Place the shirt, the right way up, on the ironing board, and isolate the collar and iron from the center moving outwards to prevent creases.
Stage Five
Moving onto the sleeves. Open the cuff onto the board and press down on the inside of the cuff and iron flat. Now for the sleeve itself. Place the sleeve across your board, flattening the seam and smooth out any creases with your hand. Starting with the pointed end of the iron nearest the cuff, proceed to work backwards up the arm. This can seem tricky, but after a while, practice makes perfect!
Stage Six
From the back of the shirt, which can also seem tricky because of the pleats, flatten the shirt out as much as you can and iron each section as close to the pleats as possible, taking care not to catch the pleats with the iron.
Stage Seven
Now for the final part- the front of the shirt. Turn the shirt to work on the front. Place the front button panel down on the board and smooth flat with your hands. Use the point of the iron to gently flatten fabrics between the button row. Then lay each front section out and iron, in turn, working from the outside to the middle avoiding any creasing around the pockets.
And, that’s how you iron a shirt in seven simple stages to ensure you achieve a professional look every time!
If you find that time is against you or you simply just can’t be bothered to iron your shirts, just give us a call and we’ll be happy to relieve you of this task.