

Part Two: Spring Cleaning- Our Room-By-Room Guide
Welcome back to Part Two of our Three-Part Spring Cleaning series where we tackle cleaning the Bedroom and Bathroom areas.
THE BEDROOM:
The bedroom is often an overlooked Spring Cleaning priority for many, as we tend to start first on communal areas that are both visible to ourselves and others. Yet, ironically, it is where we spend such a large amount of our time, in particular, sleeping. It therefore, does make a lot of sense to give it a really good clean to not only make us feel much better, but to aid and support better sleep too!
WHAT YOU’LL NEED TO CLEAN YOUR BEDROOM:
i) Cleaning cloths, and microfibre clothes.
ii) Feather and microfibre dusters including long handle types.
iii) Vacuum cleaner/steam mop/ mop and bucket.
iv) A range of cleaning products eg. glass cleaner, stain remover, furniture polish, bicarbonate of soda, mild soap and an anti-mould product.
v) Bin bags
vi) Essential oils.
For the bedroom, the first thing you’ll need to do is move everything out and declutter the area. At this point, sentimentality will just hold you back! Have bin bags at the ready for everything you will need to throw away.
It’s a good idea to include the wardrobe in the decluttering task. Select what clothes you wish to keep in a pile and put those that are either too small, too worn, or out of season, in another. You’ll be surprised at just how cathartic an experience this process can be, and you’ll be left with so much space too!
CLEAN ALL SURFACES:
Now the bedroom space is cleared and decluttered, you’ll now have a good starting point, and plenty of room, for dusting the entire area. As always, start at the top with ceilings, walls, lighting fittings, tops of wardrobes, picture frames, mirrors, bedframes, head-board etc. These areas are best tackled using your long-handled duster, as this will give you extra reach. Because a bedroom is where we invariably spend a lot of our time sleeping, there will inevitably be a build-up of dust and dead skin to contend with that will need your attention. We would, therefore, recommend cleaning around these areas using a damp cloth together with an all-purpose cleaner, and a glass cleaner for the mirrors and picture frames.
WINDOW CLEANING:
Take down any curtains you may have hanging up and either have them professionally dry-cleaned or place them in the laundry for a good wash. Give bathroom blinds a good dust with either a feather or microfibre duster, and then use a damp cloth with some cleaning solution to wipe down to tackle stubborn dirt and grime areas, if needed. Pull up the blinds to clear the way to tackle window cleaning. Using a cloth and glass spray, clean and then buff windows to a shine. Alternatively, you may wish to use a homemade white vinegar and water solution for this task. Once complete, use a damp cloth and some all-purpose cleaner to wipe down the window sills and frames. Use a anti-mould product to treat any damp areas, paying particular attention to the corner areas. Finally, pull blinds back down, and/or hang curtains back up once washed, dried and ironed.
CLEANING THE BED:
First and foremost your bed will need to be stripped down to the mattress. Without wasting any time it’s important to place all dirty bed linen into the laundry room for washing; the quicker this is done, the quicker you can remake the bed. Place sheets, duvet covers and pillowcases, on the highest possible setting following the care label instructions. Be careful around temperature settings when you launder mattress protectors etc. as they don’t respond well to high heat. The overall aim is to kill off any dust mites and bacteria living on the bedding.
For pillows, check the date of your pillows, and if they are between 18 months to 2 years old, then consider replacing them as they will contain dust mites, dead skin and bacteria. If they are relatively new, check the care label to see if they can be washed; feather pillows cannot.
Now check your mattress. Assess the condition and consider replacing it if it’s past its sell-by date. Most bed manufacturers recommend a change of mattress every seven years. If you’re happy that your mattress still has some life left in it, then give it a thorough vacuum and spot treat any stains with a mild soap and cold water and allow it to dry off.
To deep clean your mattress, mix together a few drops of your favourite essential oils. We prefer lavender for the bedroom as it is thought to have a calming effect, and can help to promote sleep. Mix your preference of oils with some bicarbonate of soda and sprinkle evenly over the entire mattress. Leave it on for a good hour or two then vacuum it off. We recommend turning the bed over and repeating the process.
FINISHING TOUCHES:
When all of the dusting, cleaning and laundry is complete, you now need to clean all the furniture and items you removed from the bedroom before you return them.
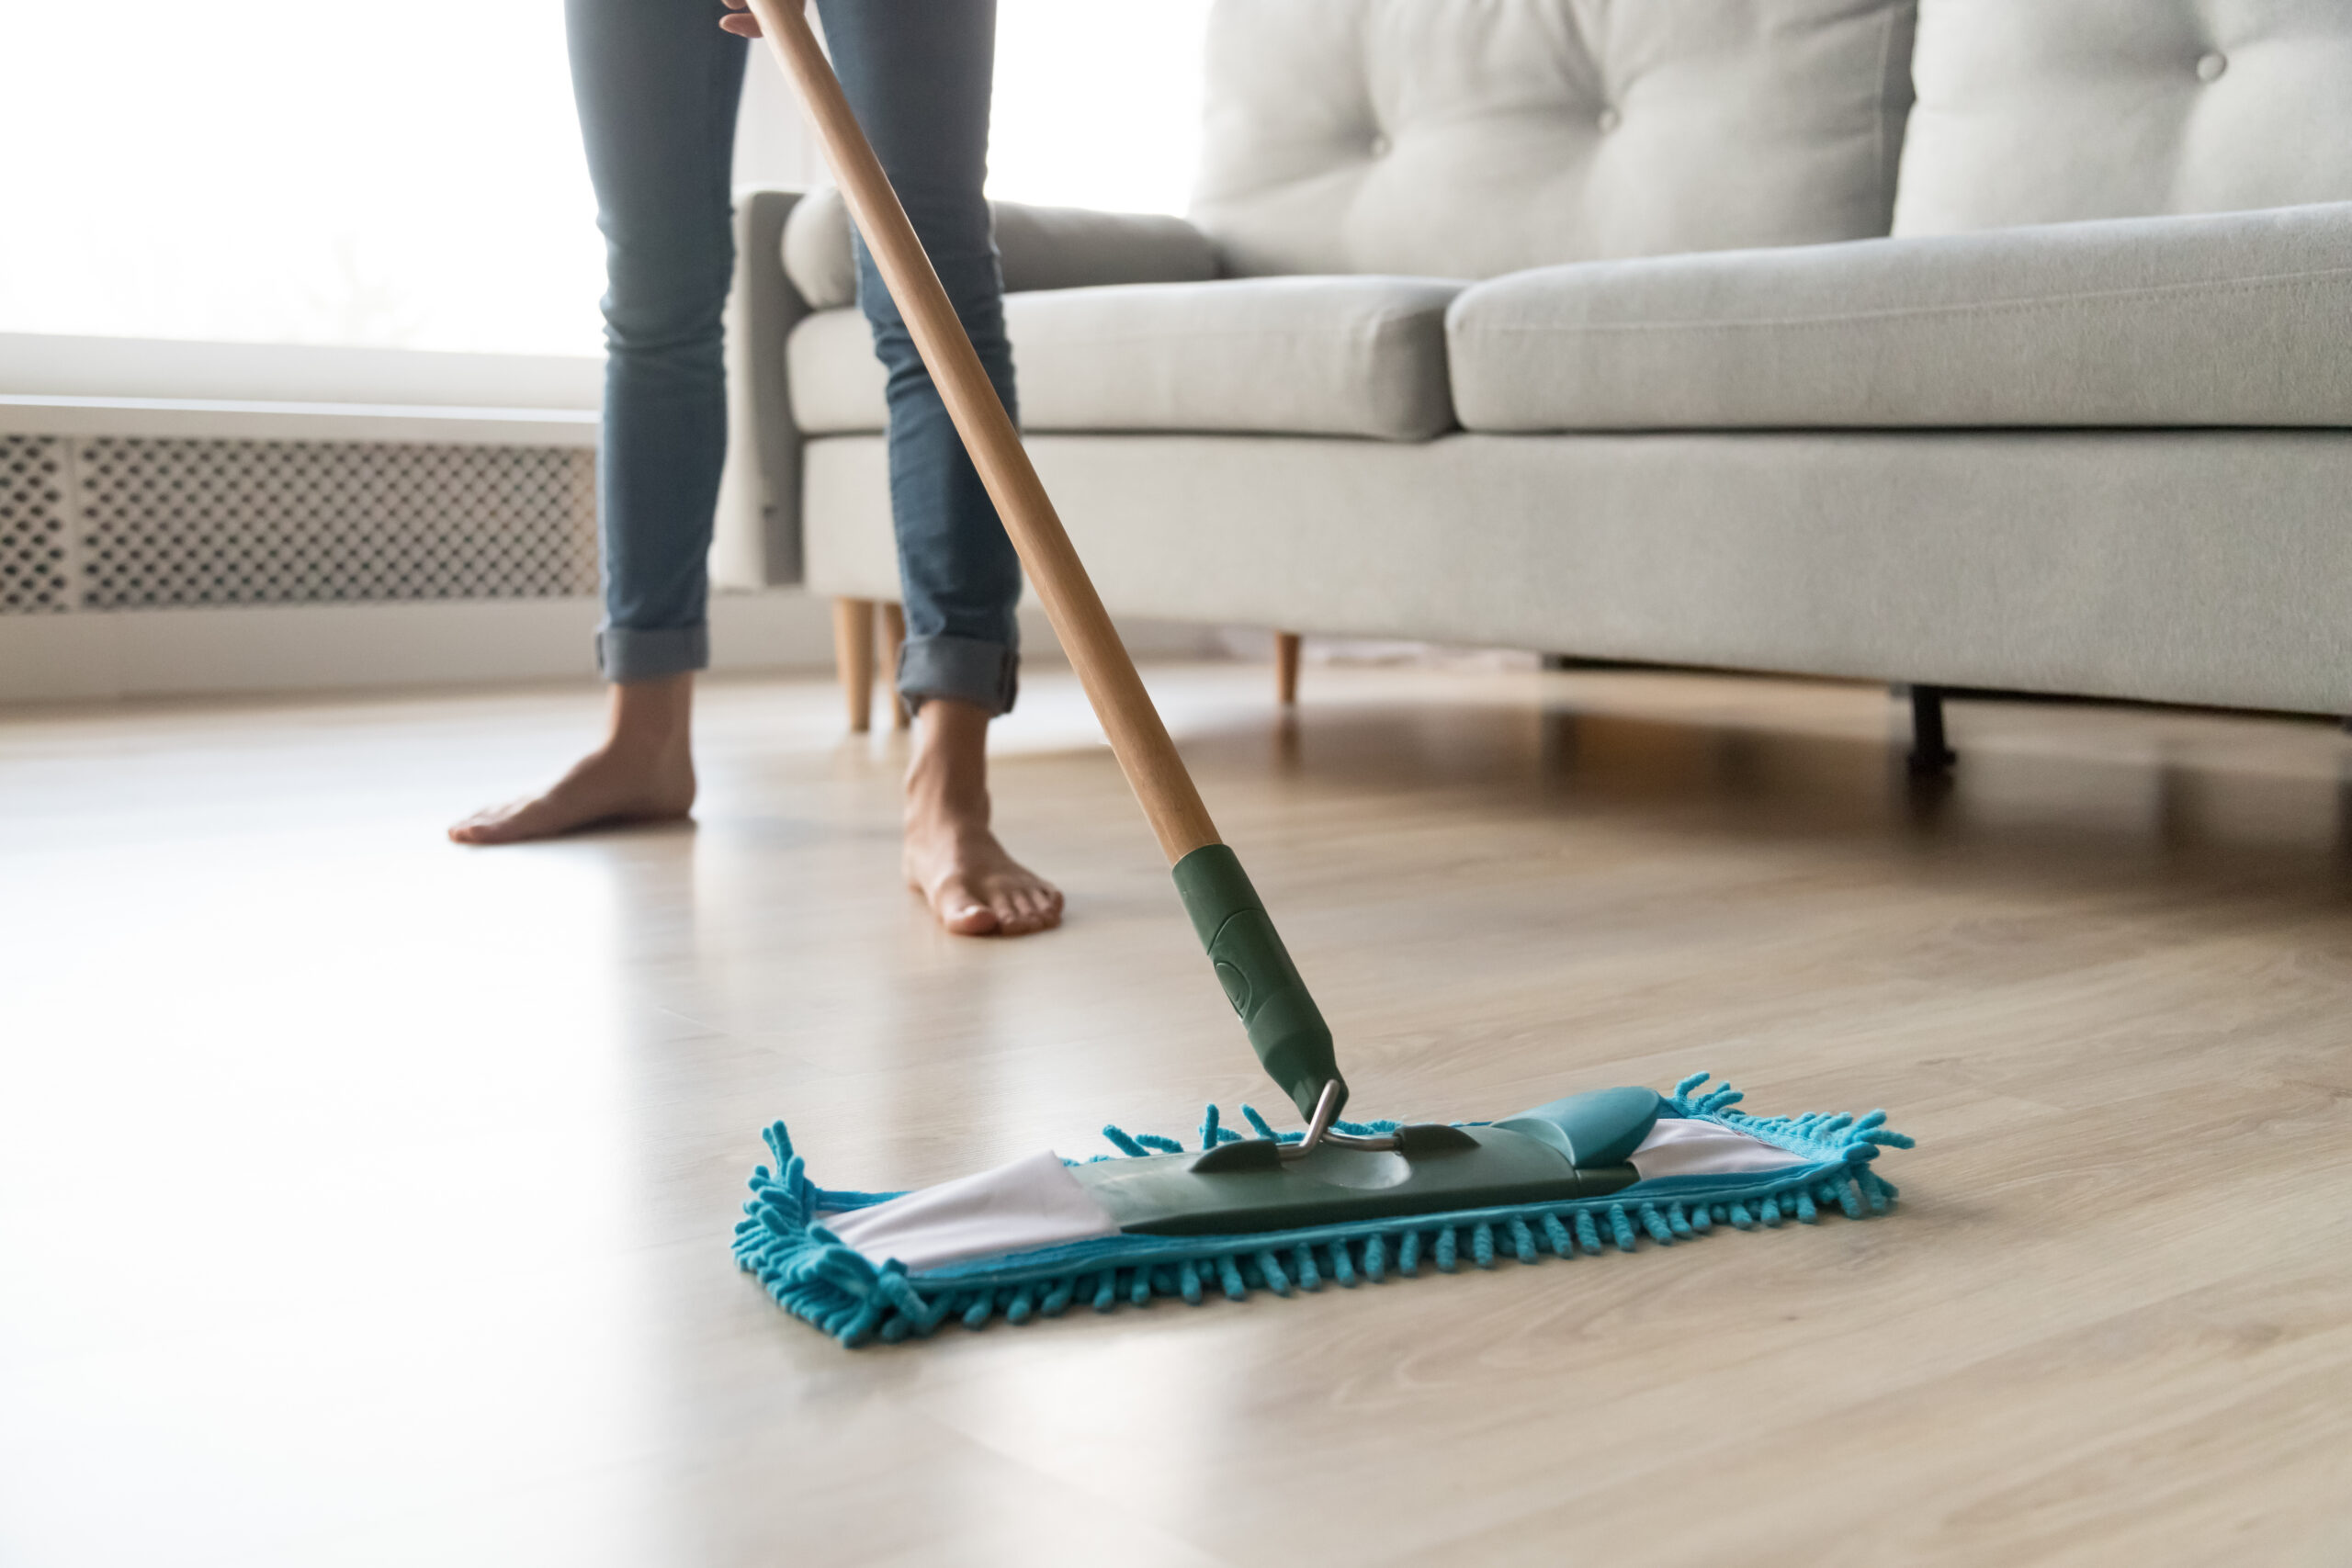
Give the floor a good hoover if your bedroom is carpeted, spot treating if need be, with a carpet stain remover. If you have wooden, laminate or vinyl flooring then clean with a mop and bucket and floor cleaning solution. If you use a steam cleaner make sure you do so in accordance with the manufacturer’s instructions.
For the bedroom area, we like to finish off by placing essential oil lavender scent bags around the bedroom, and inside the wardrobes and drawers, to give it a beautiful aroma.
THE BATHROOM:
Your bathroom is an essential part of the home which must be kept clean to reduce the risk of infection and illness. Before you start this task remove everything you can out of the area, and open the windows to allow fresh air area to circulate. Make sure you have all you’ll need to complete the task at hand.
WHAT YOU’LL NEED:
i) Baking soda/Cif cream/ Shower cleaner.
ii) An old toothbrush
iii) Toilet cleaner/ anti-bacterial spray/disinfectant spray or wipes/ bleach.
iv) A range of sponges/ cloths including microfibre cloths.
v) All-purpose cleaner/window and floor cleaner/white vinegar/bathroom limescale cleaner.
vi) Mop and bucket /steam cleaner.
vii) Dusters including long handle types.
iiiiv) Bin bags and rubber gloves.
After the bathroom area is cleared, throw away anything you don’t need into a black bag. Gather up all dirty laundry ie. towels, shower curtains and bath mats and put them on a wash cycle.
DUSTING WALLS, CEILING AND LIGHTING:
Follow a systematic approach to dusting all areas starting from the top down to the bottom, and then from side to side. After this, use warm water, a disinfectant cleaning product, and a cloth to wipe down walls and other areas, paying close attention to areas near the toilet, sink and shower.
CUPBOARD AND DRAWERS:
Clean the cupboard and drawer fronts using an all-purpose cleaner and sponge or cloth. Clean cupboard knobs and draw handles to finish off. For any mirrors, use a glass cleaning spray, and then buff to shine with a dry clean cloth.
COUNTERTOPS:
Using an antibacterial spray, wipe down all countertops, paying particular attention to corner areas. Once cleaned and dried, spend some time buffing to achieve a wonderful lustre. After cleaning is complete, replace all bathroom items back onto the countertops.
THE TOILET:
Moving onto the toilet, begin cleaning this by wiping down the outside using a damp cloth and antibacterial spray or wipes. Be sure to get into all those hard to reach areas, using an old toothbrush to do this. Next, use a toilet cleaner and squirt some of this down the sides of the bowel. Wait a few minutes, then scrub with a toilet brush to give it a thorough clean. Flush the toilet and repeat the process. To finish off, we prefer to squirt some bleach around the toilet rim and leave it until the toilet is next used.
SHOWER:
The shower is a well known place where scum can build-up, and where mould and bacteria can breed and spread. Start by cleaning the shower tiles using a spray solution of equal parts of white vinegar and water, or simply use a shower cleaning product. Allow for the solution to sit a while to give it time to get to work dissolving any scum, and then scrub clean. Rinse away any residue, then dry with a cloth, and then buff with a microfibre cloth for a wonderful shine.
For tile grout cleaning, we prefer to use hydrogen peroxide to cut through the dirt and grime. Allow this solution to sit on the tiles for a minute or two before rinsing off with the shower. Repeat the process again, if necessary.
Now onto the shower head. Clean this using limescale bathroom cleaner, using an old toothbrush, to remove any limescale deposits.
For the drain, clean this using a mixture of baking soda (half a cup) and white vinegar (one cup) and pour this down the drain. Allow this to ‘fizz’ for a little while before running hot water down the drain.
For shower doors, spray these with a shower cleaning product and then clean with a cloth or sponge. Once cleaned, buff well with a microfibre cloth to shine and to remove any streaks or smears.
For the bath, wet the entire inside of the tub with hot water. Sprinkle some baking soda around the tub, then scrub the area with a sponge including the bath ledges, until spotless. Rinse the entire bath with hot water to remove any residue.
As with the shower, clean the bath drain of dirt, scum, and hair by using a mixture of baking soda (half cup) and white vinegar (one cup). Cif cream does a really great job too. When clean, flush any residue away with hot water. When dry, buff the entire bath tub including ledges with a microfibre cloth for a great shine.
Finally, clean the bathroom floor with a mop and bucket using a disinfectant floor cleaning solution. When dry, replace washed, dried and ironed towels, curtains and bath mats.
To finish off, we like to place pine scented aroma bags around the bathroom to give a wonderful crisp, fresh smell to the whole space.
We hope you found Part Two of our Three Part Spring Cleaning series interesting, useful and helpful. Join us in Part Three where we tackle the Staircase, Hallway, and Office space.